
Windows
Connecting to VCL
- Start the Remote Desktop Connection software.
- Go to; Start > Programs > Accessories > Remote Desktop Connection.
- Login by putting the IP address from your current reservation information into the computer box. Click the Connect button.
- The VCL reservation can be toggled between fullscreen and windowed mode by pressing Ctrl-Alt-Pause
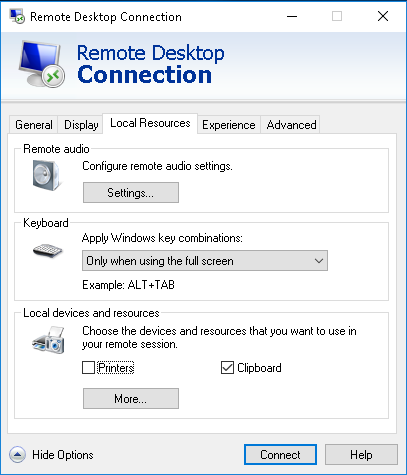
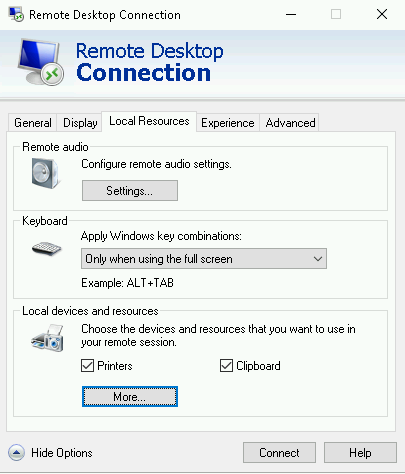
Options
(To access the options tabs click the Options button before clicking the Connect button)
By selecting local devices and resources, you can select the different resources (such as printers, drives or your local computers clipboard) available from your machine to use within the remote connection.
NOTE: When connecting to Linux environments with xRDP, do not share printers as this will break drive sharing.
(Printers and Clipboard selected)
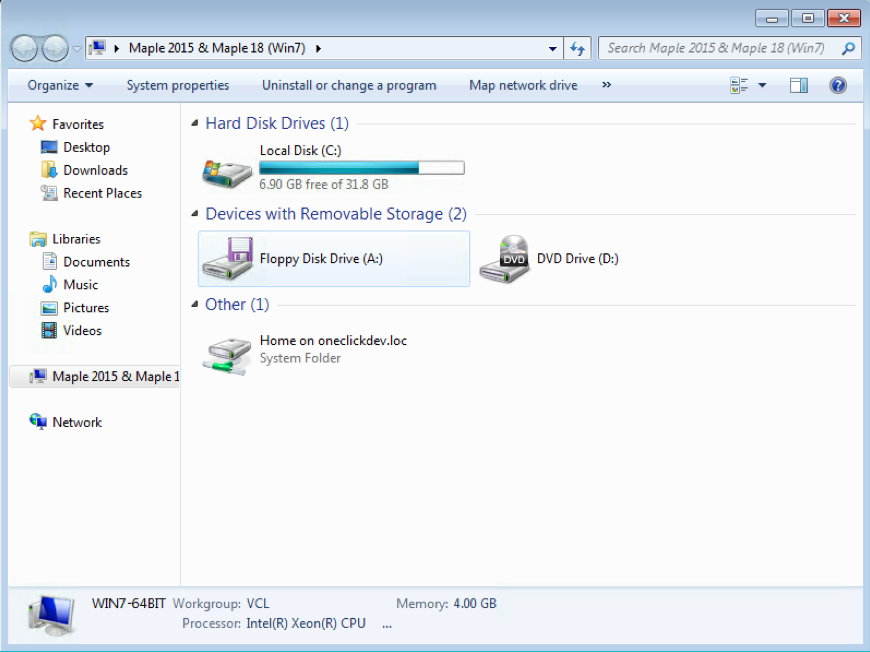
Clicking on More… allows local drives to be selected.
(More… highlighted)
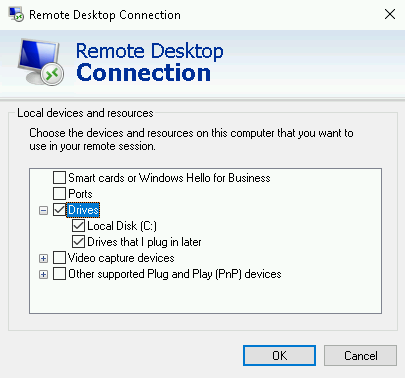
(Drives – Local Disk (C:) and Drives that I plug in later selected)
Newer versions of windows will detect which type of network connection you are using, but older versions may require to manually select the network connection type.
Macintosh
Downloading and Installing The Remote Desktop Connection Client
In order to access the Windows Virtual Computer Lab machines, you will need to download Windows App from the Mac App Store.
(import from 8)
Connecting to VCL Without Access to Files on Your Computer
Use this method to quickly connect to the VCL computer without having access to files on your computer.
To connect to the VCL computer without having access to the files on your computer, you can simply click the Get RDP File button on the VCL website.
- Your browser should prompt you to save the file
- After saving, click the RDP file to connect to the VCL computer
- If prompted, select to use Windows App, you will then be connected to the VCL computer and asked for the password that is given on the Connect page.

Connecting to VCL With Access to Files on Your Computer
Use this method to quickly connect to the VCL computer with having access to files on your computer.
Open Windows App

Click ‘Add PC’

Enter in the IP address given on the Connect Dialog box from the VCL Website.

Click the Pen icon ![]() in the lower right to configure the settings of the remote connection.
in the lower right to configure the settings of the remote connection.

In the ‘Edit Desktop’ dialog box, navigate to the ‘Local Resources‘ tab. Make sure that the ‘Folders’ check box is ticked.

Click the + in the lower left. This will take you to your finder, from there select the files and path you would like to share to the VCL computer.

Return to the ‘Desktops’ page and double click the icon to connect to the VCL computer. You will have to enter in the Username and Password given from the Connect dialog box on the VCL website.
Begin Working
You’re now logged in to the remote VCL machine and ready to being using it. If you open Windows Explorer, you should see your folder listed under the Other section.
Linux
Connecting to VCL
xfreerdp is a command line Remote Desktop client for Linux. It supports all features of RDP, including mapping local drives and printers to the remote computer. After installation it is invoked by typing the following into the shell: xfreerdp [options]
A full list of options are given by running xfreerdp --help, but a sample command line might look like the following example. Note that the arguments changed in version 1.1. Check what version you have using xfreerdp –version. Replace the <IP_Address> with the IP address provided in your VCL current reservation page.
xfreerdp
Place the following into your terminal based on the version on your machine. Replace <userid> with your username, <password> and <IP_Address> with the related password and IP address provided in the current reservation page.
(v1.1)
xfreerdp /size:1024×768 /bpp:24 /sound:sys:alsa /drive:home,/home/<userid> /drive:root,/ +compression /cert-ignore +clipboard /u:<userid> /p:<password> /v:IP_Address
(v1.0)
xfreerdp -g 1024×768 -a 24 -o –plugin rdpdr –data disk:home:/home/<userid> –plugin rdpdr –data disk:root:/ -z –ignore-certificate –plugin cliprdr -u <userid> -p <password> <IP_Address>